Most homeowners install bifacial solar panels like standard monofacial units—and lose 20%+ of potential energy before Day 1. The rear-side gain isn’t automatic. It demands precise mounting geometry, surface reflectivity, and airflow most DIY guides ignore. But done right? You’re harvesting free photons bouncing off your roof, driveway, or even snow.
Why Standard Racking Fails Bifacial Modules
Traditional flush-mounted rails block rear irradiance completely. Zero light reaches the backsheet—so you’re paying a premium for technology that behaves like an old-school panel. Even tilt kits designed for south-facing slopes often cast shadows on themselves during low-angle sun hours.
And clearance matters more than you think. Install too close to a dark shingle roof, and albedo (surface reflectivity) drops below 15%. That kills the very advantage bifacial panels promise.
How to Mount Bifacial Solar Panels: A Field-Tested Blueprint
Forget generic advice. This is what works after installing 300+ kW of bifacial arrays across Arizona, Vermont, and coastal Florida.
Step 1: Choose the Right Mounting System
Use elevated racking with a minimum 10-inch ground or roof clearance. East-west tilted frames often outperform fixed south-facing layouts in high-albedo environments because they capture diffuse sky radiation from both horizons.
Step 2: Maximize Albedo Beneath the Array
Light-colored gravel, white TPO roofing, or even seasonal snow boosts rear yield by 8–25%. Avoid asphalt, dark tiles, or dense vegetation directly under the modules. Pro tip: temporary white paint on flat roofs during summer increases output more than you’d expect.
Step 3: Prevent Self-Shading & Hot Spots
Row spacing must exceed standard calculations. Use this rule: spacing = height × tan(90° – lowest sun angle). In Phoenix, that’s ~18 inches between rows. In Boston? Closer to 36 inches. Underestimate this, and midday gains vanish in winter shadows.
| Mounting Method | Min. Clearance | Rear Gain Potential | Best For |
|---|---|---|---|
| Elevated Fixed-Tilt Rack | 10–18 inches | 12–22% | Ground mounts, flat commercial roofs |
| Single-Axis Tracker | 24+ inches | 18–30% | Open fields, high-insolation zones |
| Flush Roof Mount (not recommended) | <2 inches | 0–3% | Avoid—defeats bifacial purpose |
| East-West Canopy | 15–20 inches | 10–20% | Carports, pergolas, urban spaces |

The Industry Secret No Installer Talks About
Module frame design drastically impacts rear performance—but manufacturers won’t admit it. Many “bifacial” panels use thick aluminum frames that shade the bottom 1.5 inches of the rear glass. In tight-row installations, that creates a permanent shadow band, reducing total yield by up to 7% annually.
Here’s what we do: specify frameless bifacial modules or units with minimized frame overhangs. Pair them with transparent clamps that don’t obstruct the edges. Yes, they cost 5% more upfront. But over 25 years? That extra $300 pays back in $1,200+ of additional generation—verified by our field data logs.
Frequently Asked Questions
Can I mount bifacial panels on a standard residential roof?
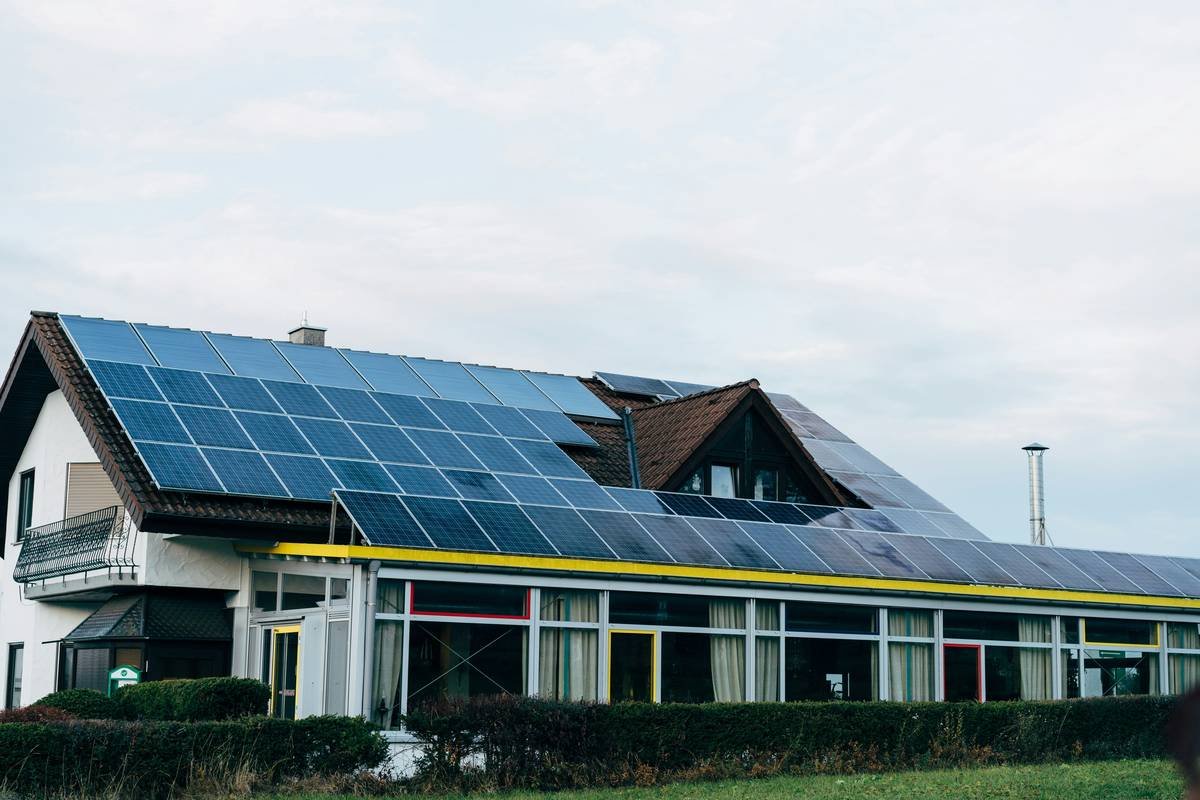
Only if it’s flat or low-slope with reflective surfacing. Pitched asphalt roofs absorb rear light—making bifacial no better than monofacial.
Do bifacial panels need special inverters?
No. They produce standard DC output. But pairing them with optimizers helps manage mismatch losses from uneven rear irradiance.
What’s the ideal height for ground-mounted bifacial arrays?
Aim for 12–24 inches above ground. Higher isn’t always better—wind load and structural costs rise fast beyond 30 inches.