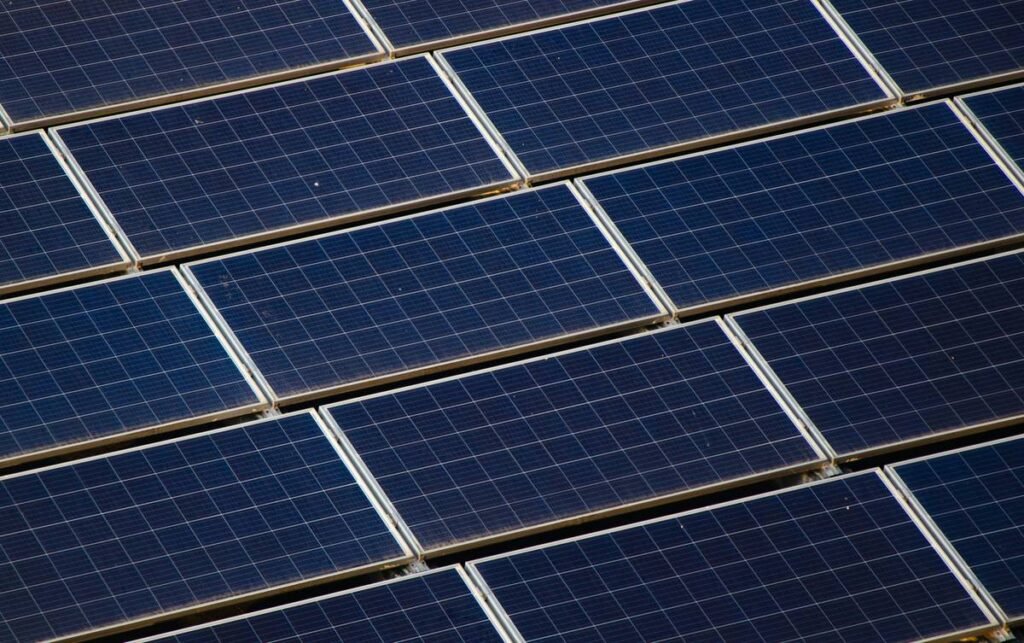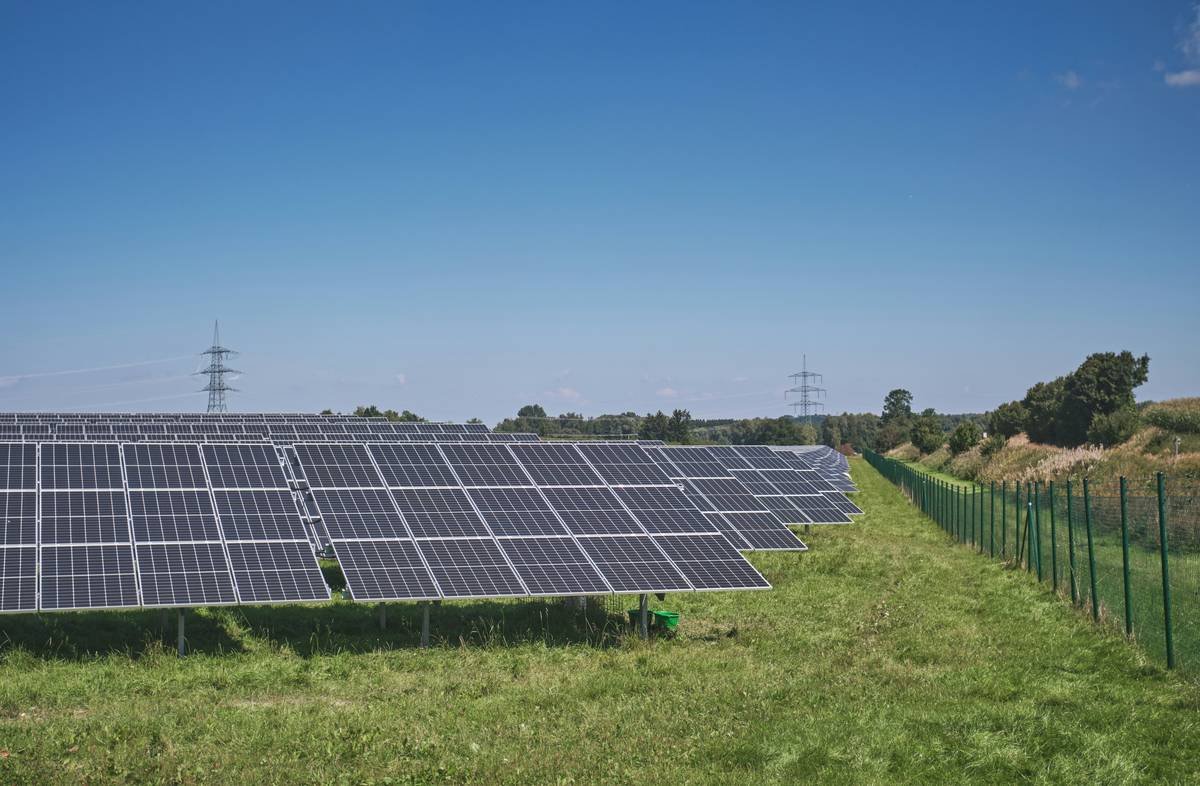
Most homeowners install bifacial solar panels like they’re conventional ones—and lose 20–35% of potential yield before the sun even hits. Standard mounting ignores their dual-sided design, wasting reflected light. But here’s the fix: proper elevation, reflective surfaces, and precise tilt aren’t optional—they’re the difference between decent output and industry-leading ROI.
Why Conventional Solar Installation Fails with Bifacial Tech
Bifacial panels don’t just face up—they harvest photons from both sides. Slap them flat on a dark roof like monofacial units? You’ve killed their superpower.
Traditional racking traps heat, blocks rear irradiance, and creates shadow gaps that cripple gain. And no—tilting them slightly “just in case” won’t cut it. Physics doesn’t negotiate.
How to Install Bifacial Solar Panels: Step-by-Step Execution
Site Assessment: Not All Roofs Qualify
Forget south-facing dogma for a sec. What matters is albedo—the reflectivity beneath your array. White gravel? Snow-prone zones? Light concrete? Gold. Asphalt shingles? Think again. Measure ground reflectance; below 25%, bifacial gains vanish.
Mounting Height & Spacing: The 1-Meter Rule
Elevate modules at least 1 meter above the surface. Less than that, and rear-side shading from the frame chokes light capture. Plus, maintain row spacing ≥1.5x height to prevent inter-row shadowing during low-sun hours. Geometry isn’t opinion—it’s math.
Racking Selection: Avoid Direct Back Contact
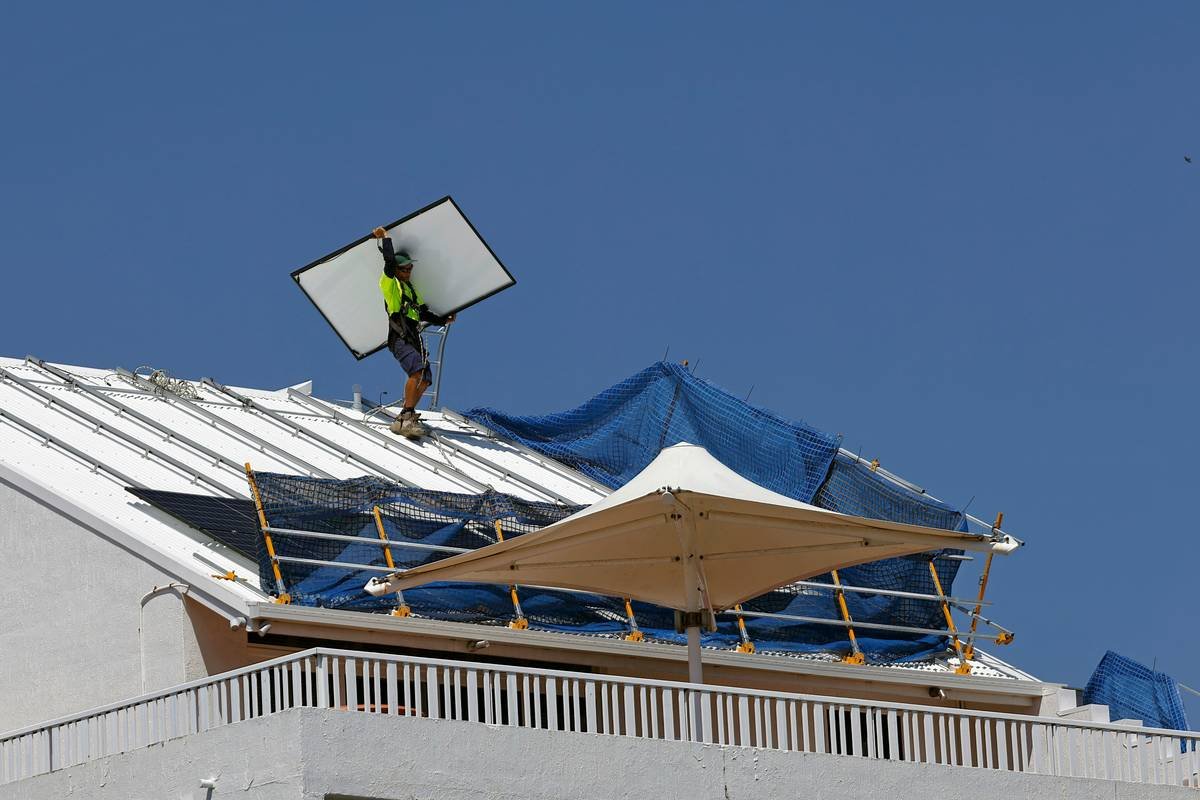
Standard rails clamp edges but often block the rear glass. Use open-frame or center-clamp systems that expose >90% of the backsheet. Bonus: non-penetrating ballasted mounts preserve roof integrity while enabling optimal airflow—cooling both sides boosts voltage stability.
Orientation & Tilt Optimization
East-west layouts sometimes outperform south-only in high-albedo urban settings because morning/evening diffuse light bounces longer. Tilt between 10°–20° unless you’re near the equator—steep angles cast self-shadows on the rear cell layer. Use PVsyst or SAM software to simulate your exact latitude + surface combo.
| Installation Factor | Conventional Approach | Bifacial-Optimized Method | Yield Impact |
|---|---|---|---|
| Mounting Height | Flush to roof (0.1m) | ≥1.0m elevation | +18–32% energy gain |
| Ground Surface | Asphalt/dark tile | White stone/sand/concrete | +12–25% rear irradiance |
| Racking Design | Full-back contact rails | Minimal-edge clamps | +7–15% rear exposure |
The Industry Secret: Bifacial Gain Isn’t Just About Light—It’s About Heat Management
Here’s what manufacturers won’t stress: bifacial panels run cooler than monofacial under identical conditions—when installed right. Why? Dual-glass construction dissipates heat better, and elevated mounting allows convective cooling on both sides. But trap them against a hot roof, and that advantage evaporates. One Midwest installer secretly boosted summer output by 9% just by switching from asphalt pads to crushed white limestone under his arrays. No panel swap. No firmware update. Just physics leveraged correctly.
FAQ
Can I install bifacial panels on a standard residential roof?
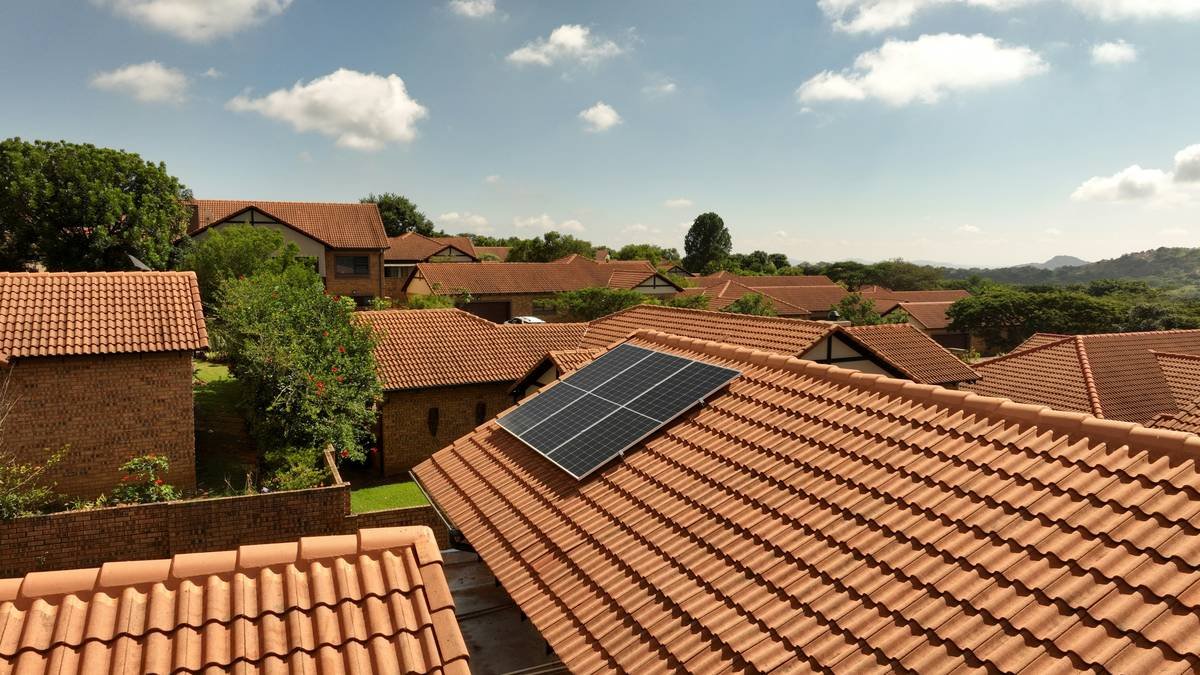
Only if your roof has high reflectivity (e.g., white membrane) and you use elevated mounting. Most sloped asphalt roofs kill rear-side gains—ground or flat commercial roofs work better.
Do bifacial panels need special inverters?
No. They produce standard DC output. However, pairing them with MLPEs (module-level power electronics) maximizes harvest from variable rear-side illumination across the array.
How much more do bifacial installations cost?
Typically 10–15% more upfront due to specialized racking and site prep. But LCOE drops faster—ROI often beats monofacial within 5–7 years thanks to higher lifetime kWh/kW.