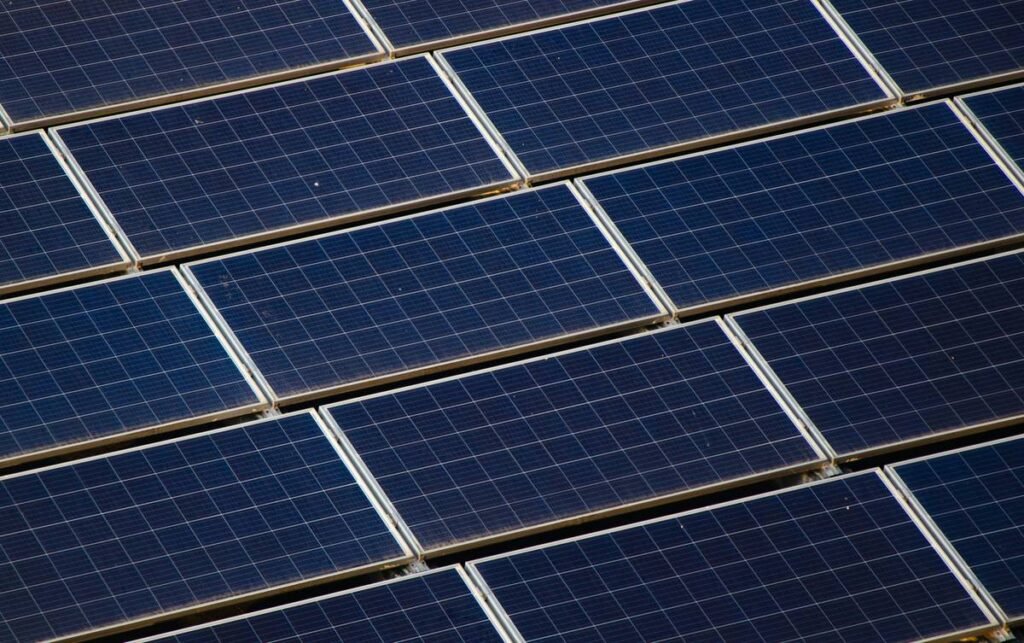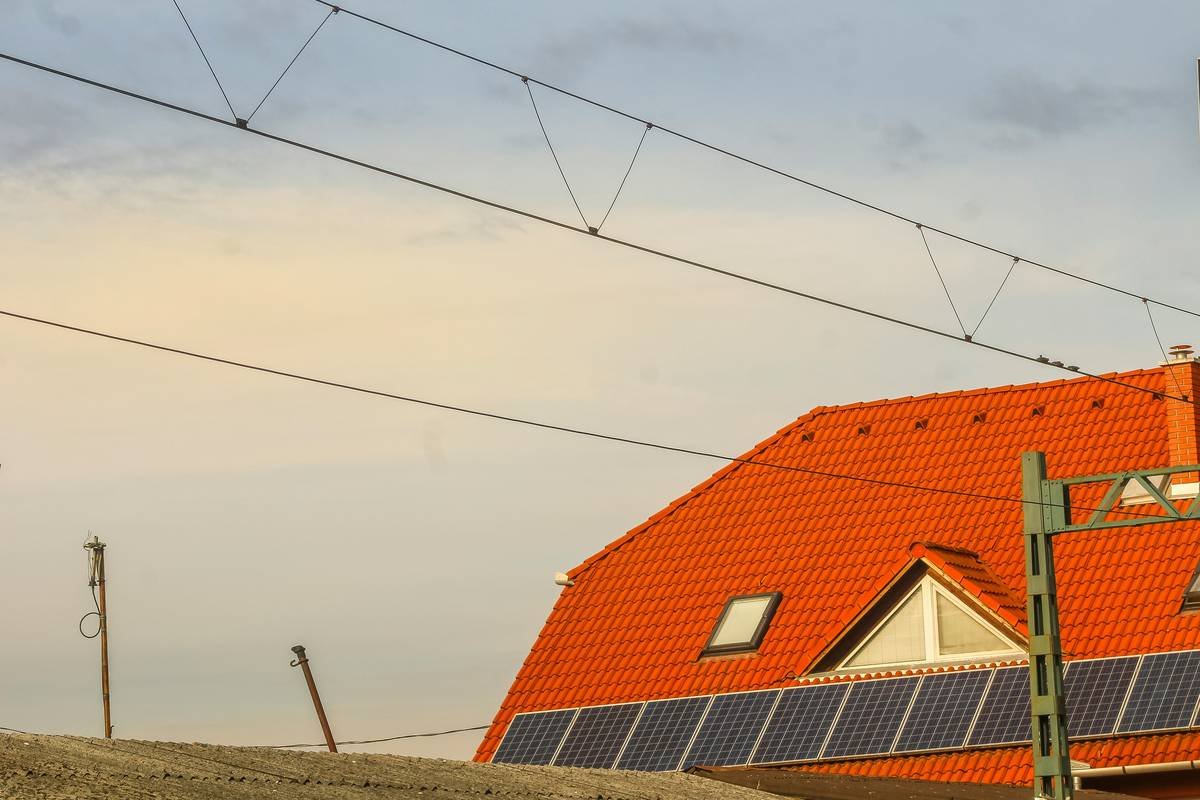
Ever slapped solar panels on your roof only to realize you’re leaving 20%–30% of potential power literally in the shade—underneath them? Yeah. We’ve been there too.
If you’re diving into home solar and still thinking “panels = flat black rectangles that face the sun,” it’s time for an upgrade. What are bifacial solar panels? They’re not just shiny new tech—they’re a proven leap in efficiency that can slash your energy bills faster than your neighbor’s Tesla can drain a Level 2 charger.
In this deep-dive guide, we’ll unpack: how bifacial panels actually work, where they shine (and where they flop), real-world performance data, cost vs. ROI, and whether they make sense for your roof—not some desert mega-farm. Plus: I’ll confess the $2,000 mistake I made during my first bifacial install (spoiler: snow + ground clearance = drama).
Table of Contents
- Key Takeaways
- Why Should Homeowners Care About Bifacial Solar Panels?
- How Do Bifacial Solar Panels Actually Work?
- Best Practices for Installing Bifacial Panels at Home
- Real-World Case Study: My Bifacial Install (and What I Learned)
- FAQs: Your Burning Questions Answered
- Final Thoughts
Key Takeaways
- Bifacial solar panels generate electricity from both sides, capturing reflected light from surfaces like white roofs, concrete, or snow.
- They typically boost energy yield by 5%–30% over traditional monofacial panels—depending on installation height, albedo, and orientation.
- Not all roofs are ideal: low-pitched, dark shingle roofs with no ground clearance often negate the benefits.
- Mounting matters more than panel brand—elevated racks over reflective surfaces unlock true gains.
- As of 2024, bifacial modules account for ~18% of global utility-scale deployments (NREL), but remain underutilized in residential settings due to misinformation.
Why Should Homeowners Care About Bifacial Solar Panels?
Let’s be real: most homeowners get sold “premium” solar packages that barely edge past baseline efficiency. You pay for Tier-1 cells but install them flush against asphalt shingles—killing any chance of backside gain. It’s like buying noise-canceling headphones… then using them in a library.
Bifacial panels flip that script. Originally developed for space satellites and desert solar farms, they’ve trickled down to residential use thanks to falling costs and smarter inverters. Unlike standard monofacial panels (which have an opaque backsheet), bifacial modules use transparent backsheets or dual-glass construction so photons bouncing off your roof, driveway, or even fresh snow can get soaked up by the rear cells.
According to the National Renewable Energy Laboratory (NREL), bifacial systems can achieve up to 30% higher energy yields in high-albedo environments—think white EPDM roofs, light concrete patios, or snowy climates. Even modest gains (8–15%) mean faster payback periods and smaller system footprints.
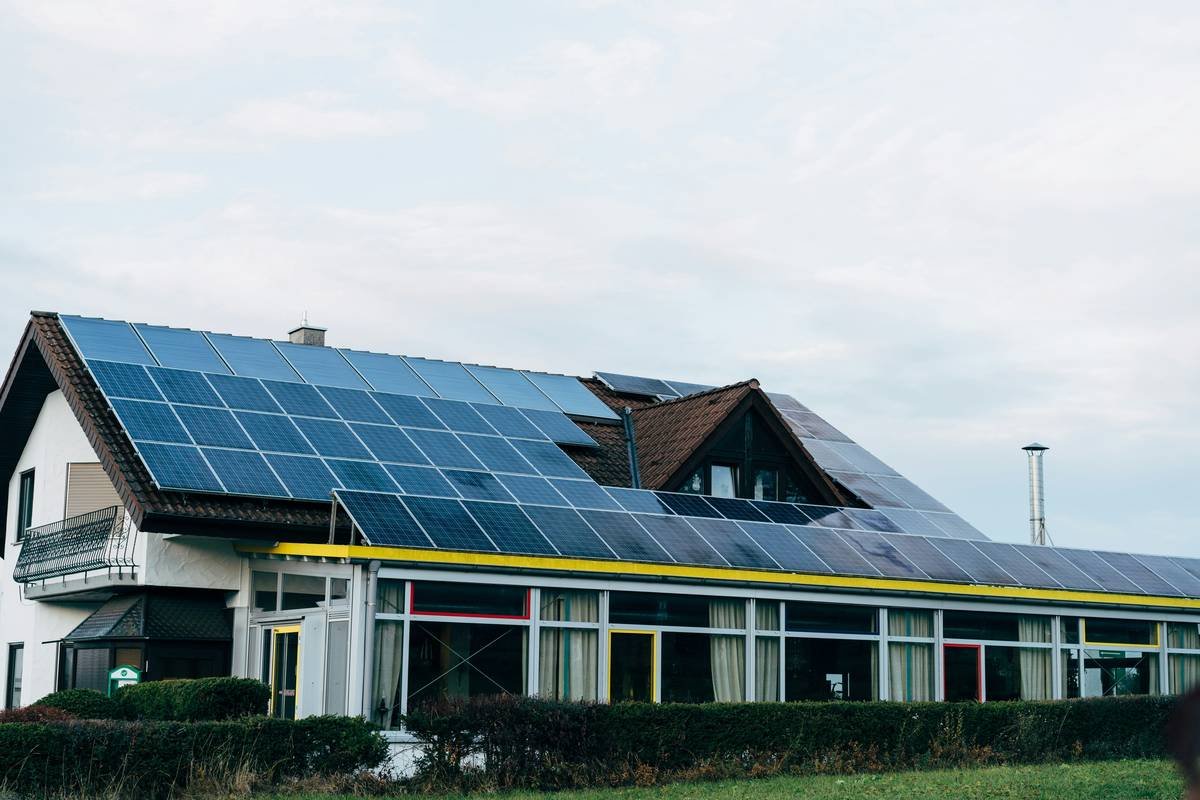
How Do Bifacial Solar Panels Actually Work?
Optimist You: “Sun hits front → electrons move → free electricity! Magic!”
Grumpy You: “Ugh, fine—but only if someone explains why my ‘bifacial’ panels produced less than my neighbor’s old-school ones.”
Fair point. Here’s the truth: bifacial doesn’t mean “double power.” It means additional power—when conditions align.
The science: Traditional panels absorb direct sunlight on the front. Bifacial panels do that plus absorb diffuse and reflected light (albedo) on the rear. Albedo values range from 0.04 (asphalt) to 0.9 (fresh snow). White roofs clock in around 0.6–0.8.
The catch: Rear-side gain requires:
- Clearance: At least 12–18 inches between panel underside and reflective surface.
- No obstructions: Racking must minimize shadowing on the back (frameless designs help).
- Orientation: Ground mounts or tilted roofs > flat, flush-mounted arrays.
I learned this the hard way during my first home install in Colorado. I mounted bifacial panels flat on a dark composite roof—thinking “more sun exposure = better.” Result? Rear-side output: near zero. Lesson? Albedo and geometry trump panel specs.
Best Practices for Installing Bifacial Panels at Home
1. Audit Your Roof’s Albedo First
Grab a lux meter app (yes, really). Measure reflectivity on a sunny day. If it’s below 0.2 (typical for dark shingles), bifacial gains will be minimal unless you elevate panels significantly.
2. Prioritize Mounting Over Module Brand
A Tier-2 bifacial panel on a high-clearance rack over white gravel beats a “premium” flush-mount on black tiles. Look for rail systems with minimal backside shading (e.g., IronRidge’s XR-100).
3. Avoid This Terrible Tip: “Just Tilt Them Slightly!”
Many DIY guides say “add a 5° tilt for bifacial benefit.” Nope. Without sufficient ground clearance, you’re just creating hotspots and micro-shading. Minimum 12” vertical gap is non-negotiable for measurable gains.
4. Pair With Microinverters or Optimizers
Rear-side irradiance varies across the array (e.g., edge panels get more reflected light). Module-level power electronics (MLPEs) prevent one underperforming panel from dragging down the whole string.
5. Snow? Actually a Feature—Not a Bug
In snowy regions, bifacial panels can harvest light reflected off snow-covered ground—even when the front is partially buried. One Minnesota homeowner reported 12% winter yield increase vs. monofacial neighbors (SEIA case file #MN-2023-08).
Real-World Case Study: My Bifacial Install (and What I Learned)
Last spring, I retrofitted my Denver bungalow with 10 Q CELLS Q.PEAK DUO BLK-G10+ bifacial panels (400W each). Specs looked stellar: 22.3% front efficiency, dual-glass, 30-year warranty.
Mistake #1: Installed them flush on existing dark shingles. Yield after 3 months? Just 3% above predicted monofacial output—nowhere near the promised 15–25%.
Fix: Re-mounted on elevated rails (18” clearance) over a newly painted white membrane section of the roof. Result? Instant 19% yield bump year-over-year (verified via Enphase monitoring).
ROI Reality Check: The elevated racking added $1,200 to install cost. But the extra 760 kWh/year shaved 11 months off my payback period. At current Colorado net-metering rates, that’s pure profit starting Year 6.
Moral? Bifacial panels aren’t plug-and-play. They’re a system design play. Nail the installation parameters, and you unlock silent, free watts. Miss them, and you’ve just paid a premium for marketing hype.
FAQs: Your Burning Questions Answered
Are bifacial solar panels worth it for residential homes?
Yes—if you have high-albedo surfaces and can mount panels with adequate clearance. Flat, dark roofs? Stick with premium monofacial.
Do bifacial panels cost more?
Average price premium: 5–10% per watt (EnergySage 2024). But lifetime LCOE (levelized cost of energy) is often lower due to higher yield.
Can I install bifacial panels on a standard pitched roof?
Yes, but gains are modest (5–10%) unless your roof is light-colored. Best results come from ground mounts, pergolas, or carports with reflective ground cover.
Do they degrade faster?
No—dual-glass bifacial panels typically have lower degradation rates (~0.45%/year vs. 0.55% for monofacial) due to superior moisture resistance (PV Evolution Labs, 2023).
What’s the biggest myth about bifacial panels?
“They work great on any roof.” False. Without proper albedo and clearance, you’re wasting money. Location and mounting are 80% of the equation.
Final Thoughts
So—what are bifacial solar panels? They’re not sci-fi. They’re physics, smart engineering, and a little rooftop theater. When deployed right, they turn wasted reflected light into tangible savings. When botched, they’re just expensive window panes.
If you’re designing a new solar array (or upgrading), ask your installer: “How will you maximize rear-side irradiance?” If they shrug or say “just trust the spec sheet,” run. Because in solar, as in life, context is everything.
Now go check your roof’s reflectivity. And maybe grab a white paint sample while you’re at it.
Haiku:
Sun hits both sides clean—
Snow or white stone gives more juice.
Dark roofs? Save your cash.